


How to Customize Your Planner Like a Pro: Covers, Inserts, and Accessories to Inspire You
Okay, planner lovers… let’s talk about the fun part: planner customization. ✨
Because planning isn’t only about writing things down, it’s about creating a system (and a space!) that feels like you. The colors, the textures, the pages you use, all of it should motivate you every time you sit down to plan.
That’s exactly why we built The Daily Grind Planner to be fully customizable.
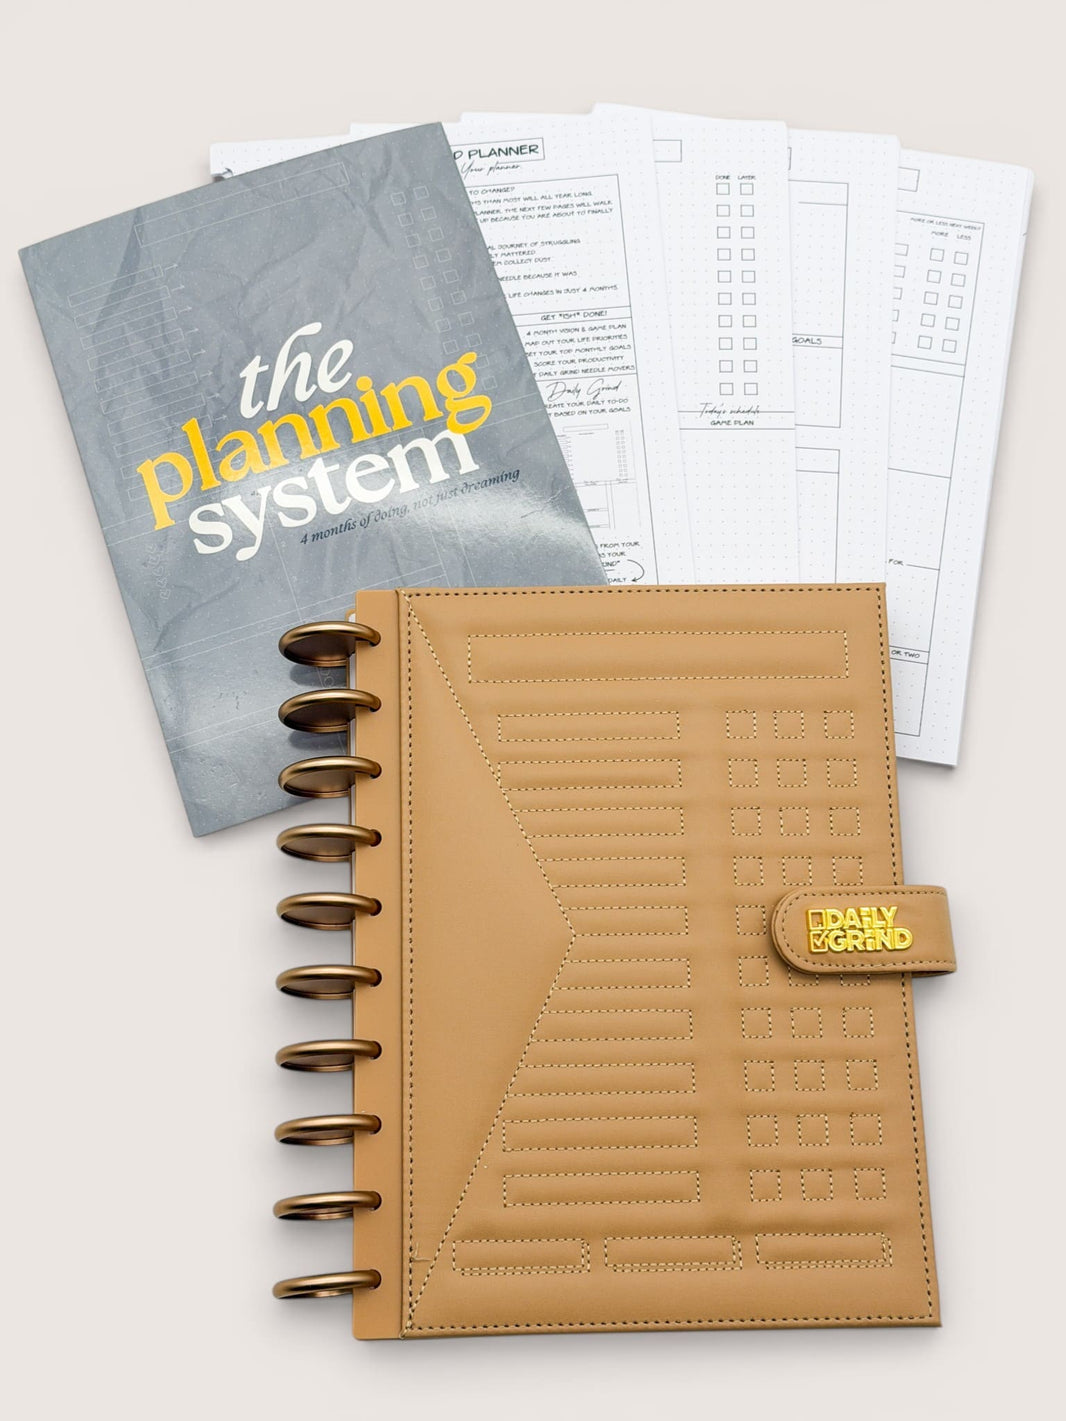
Thanks to our discbound system, you can mix and match covers, swap inserts in and out, add accessories, and rearrange your planner pages anytime. It’s your planner, your rules. Whether you’re a goal-setter, a list-lover, or someone who just wants a pretty, functional tool that keeps life together, you can design a setup that fits your lifestyle perfectly.
So grab your favorite pen (and maybe a latte), and let’s talk about how to customize your planner like a pro.
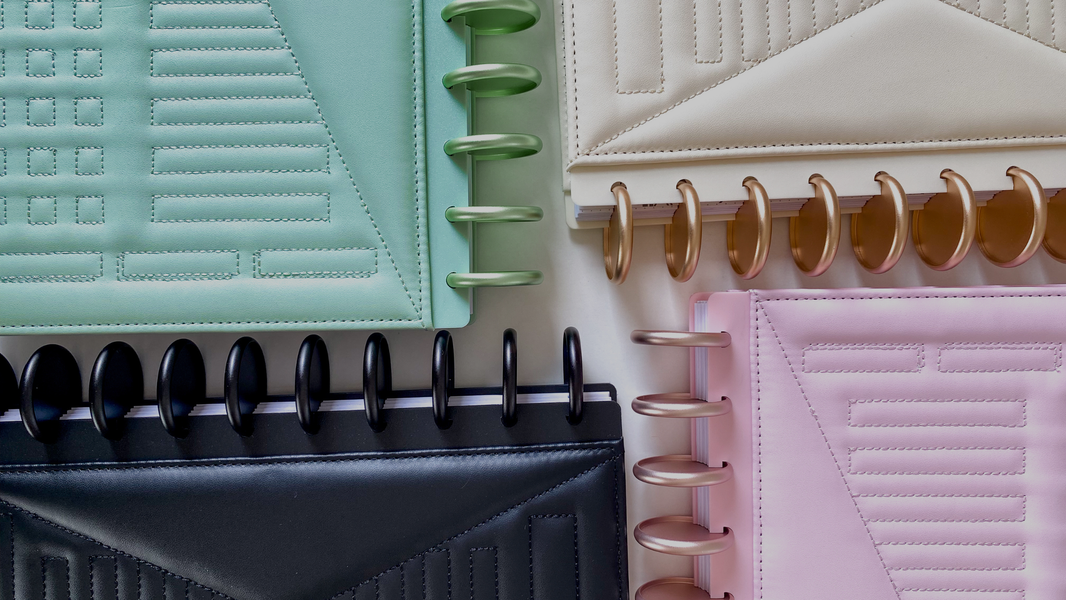
1. Start With The Foundation: The Discbound System
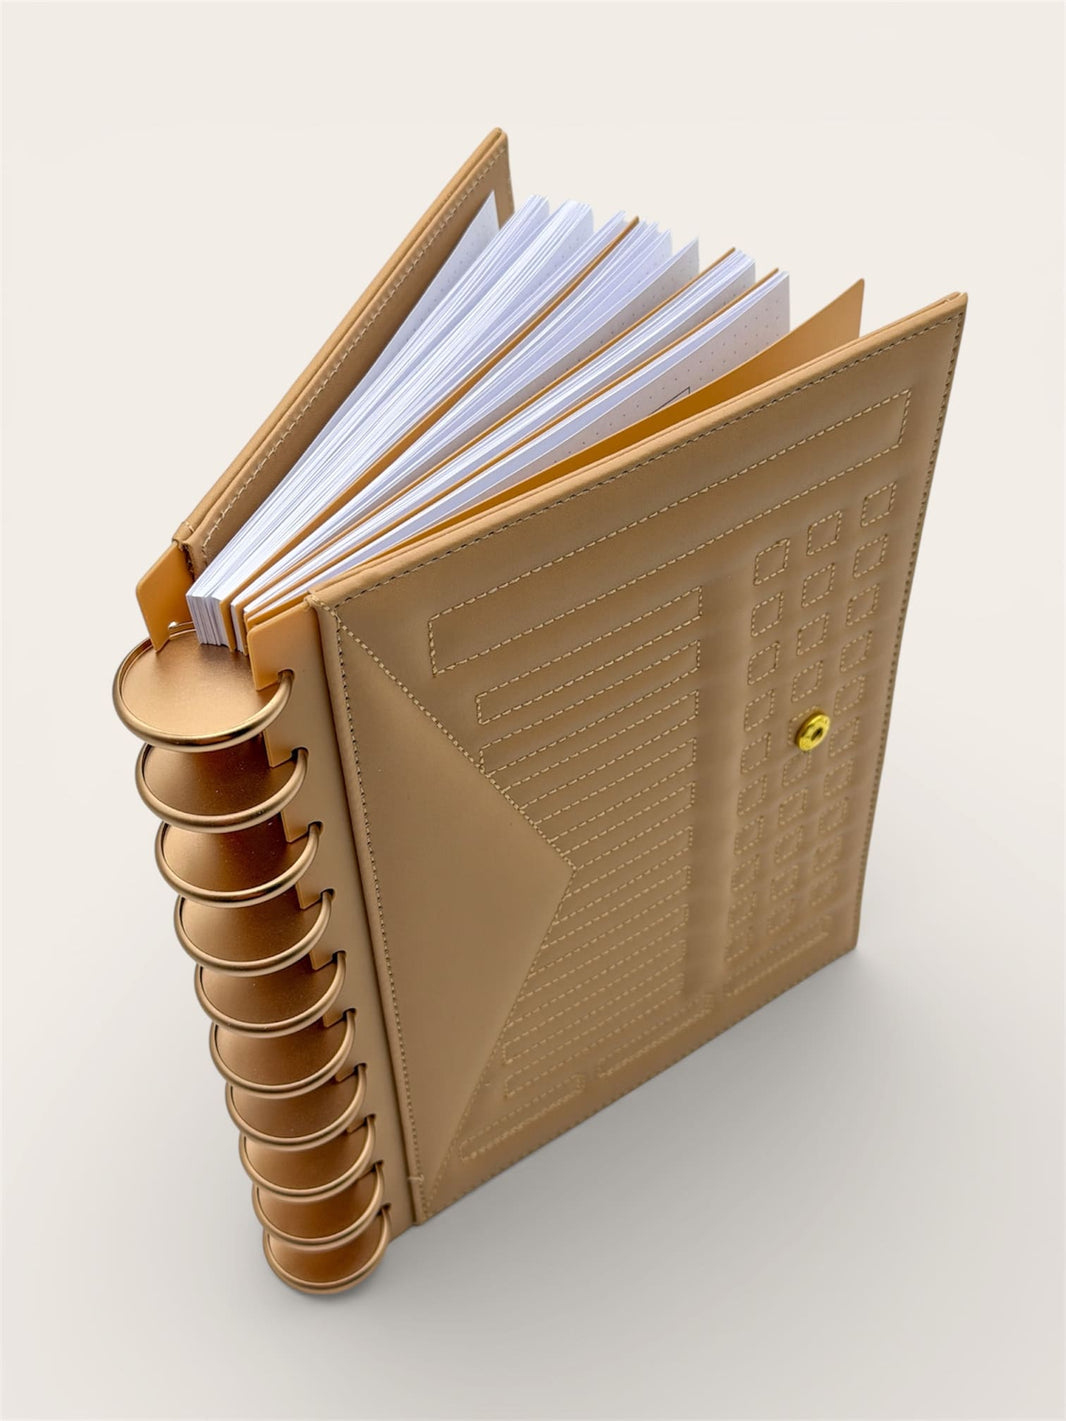
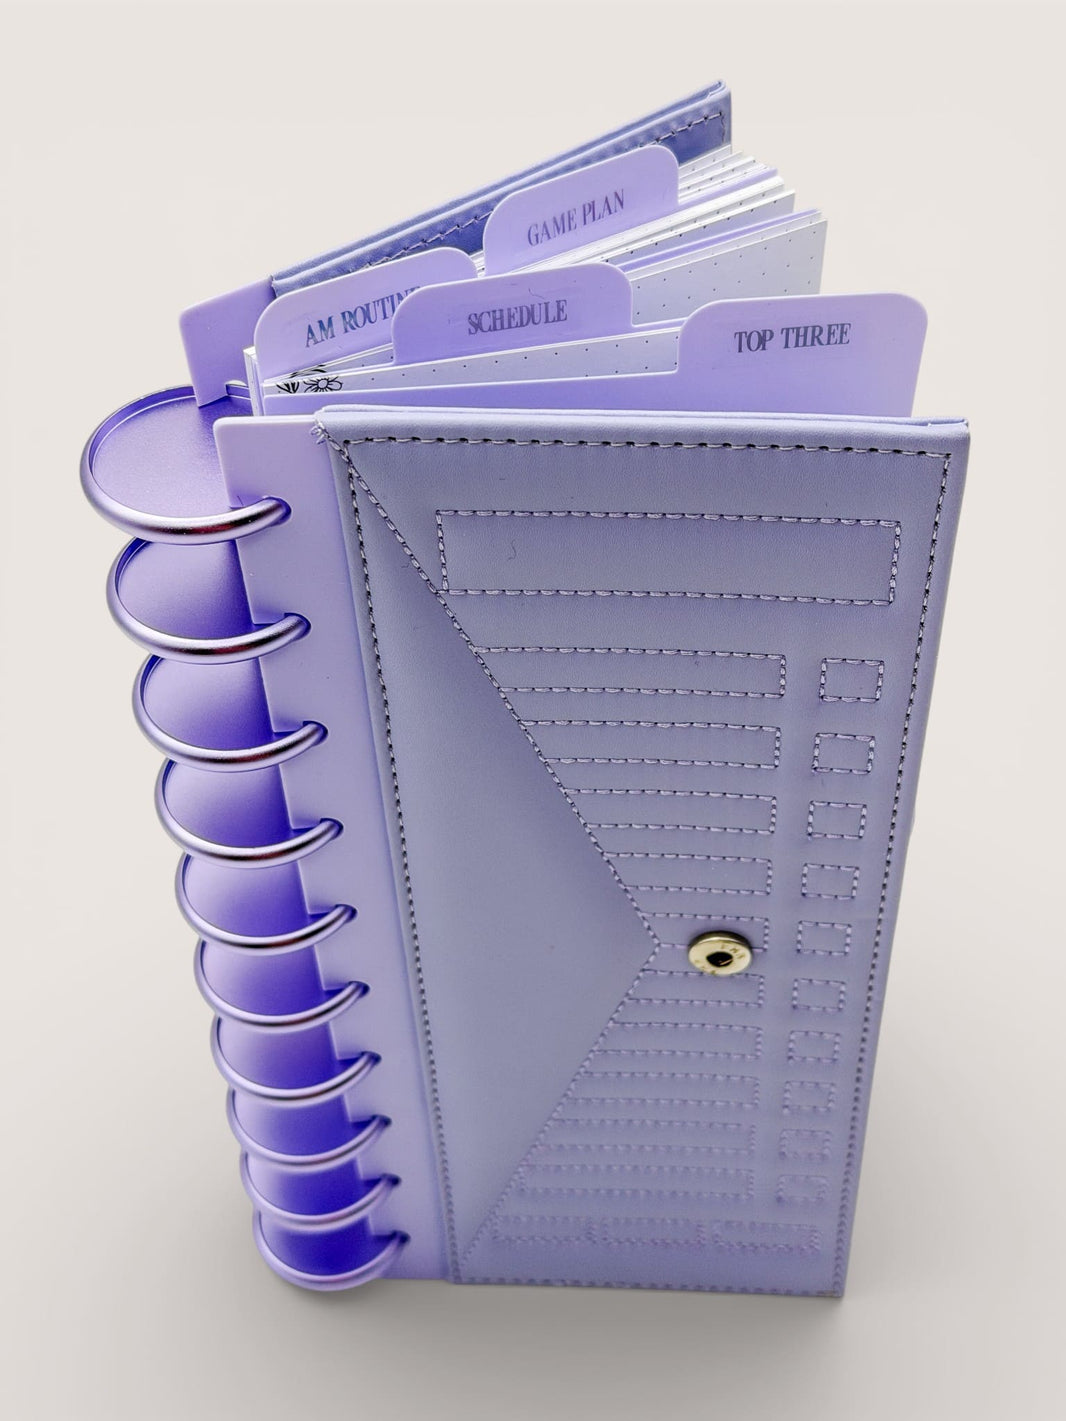
Before we get into the decorating fun, let’s start with the heart of it all: the discbound planner system.
If you’ve never used one before, here’s the scoop:
A discbound planner uses discs instead of traditional rings or spirals. Each page is punched with a special “mushroom” shape that pops easily in and out of the discs… no tearing, no mess, just total flexibility.
That means you can:
-
Rearrange pages anytime
-
Add new inserts wherever you want
-
Mix and match different page types (goal-setting, budgeting, planning, etc.)
-
Keep your favorite cover and discs while swapping out seasonal inserts
-
Swap in a new cover for a fresh vibe anytime you need it
It’s like the LEGO of planners, endlessly customizable.
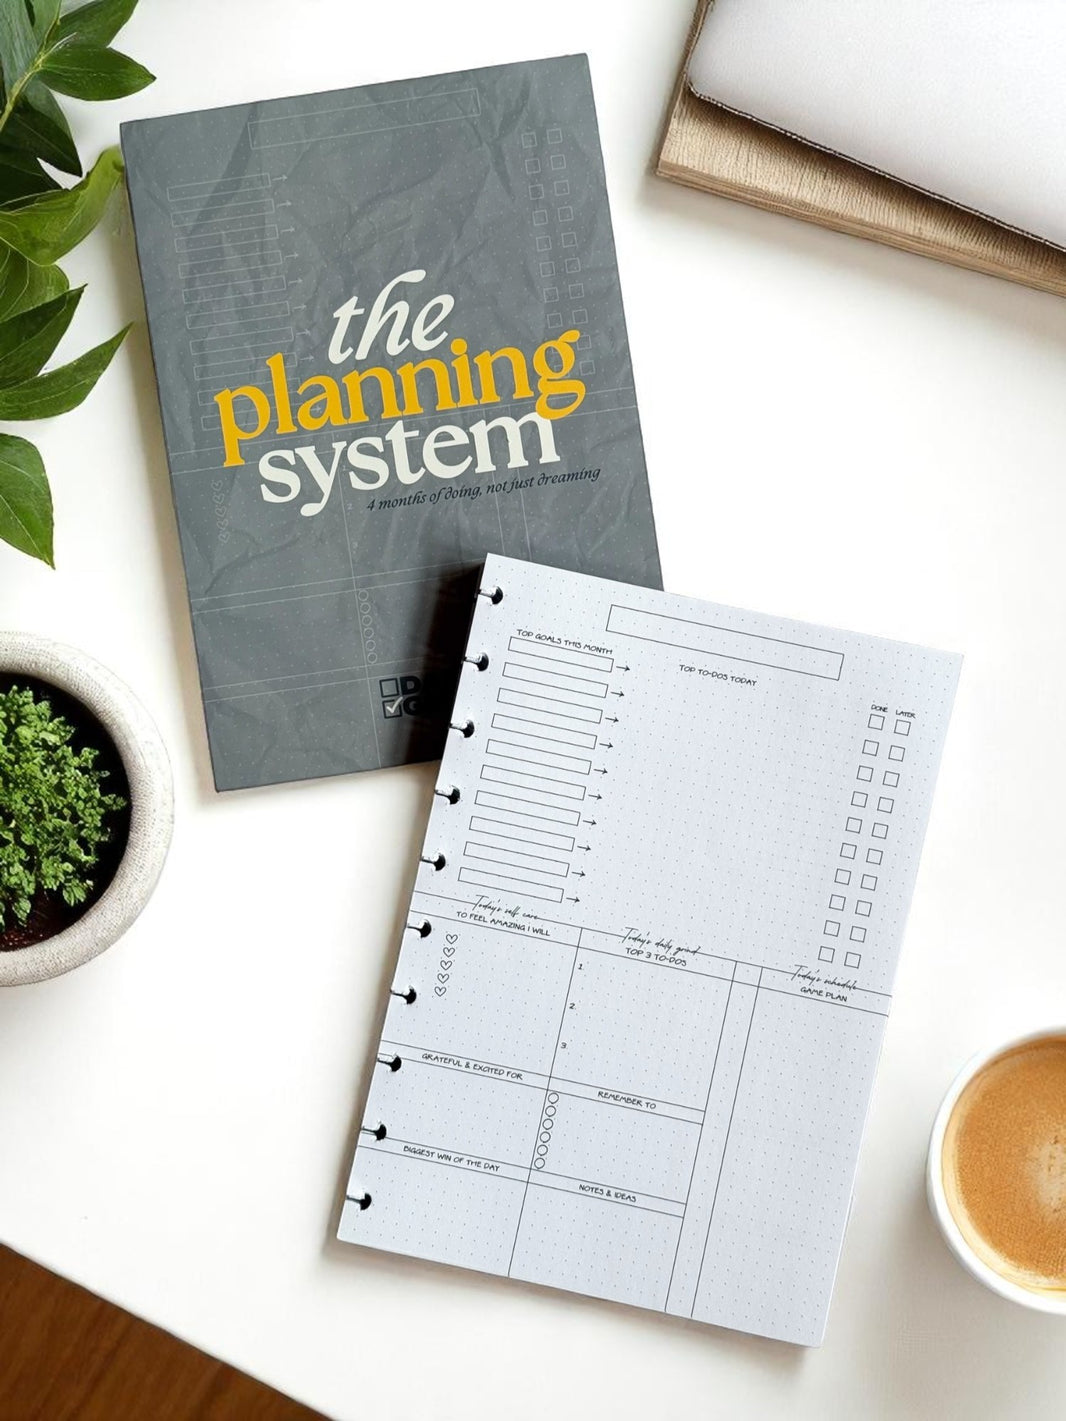
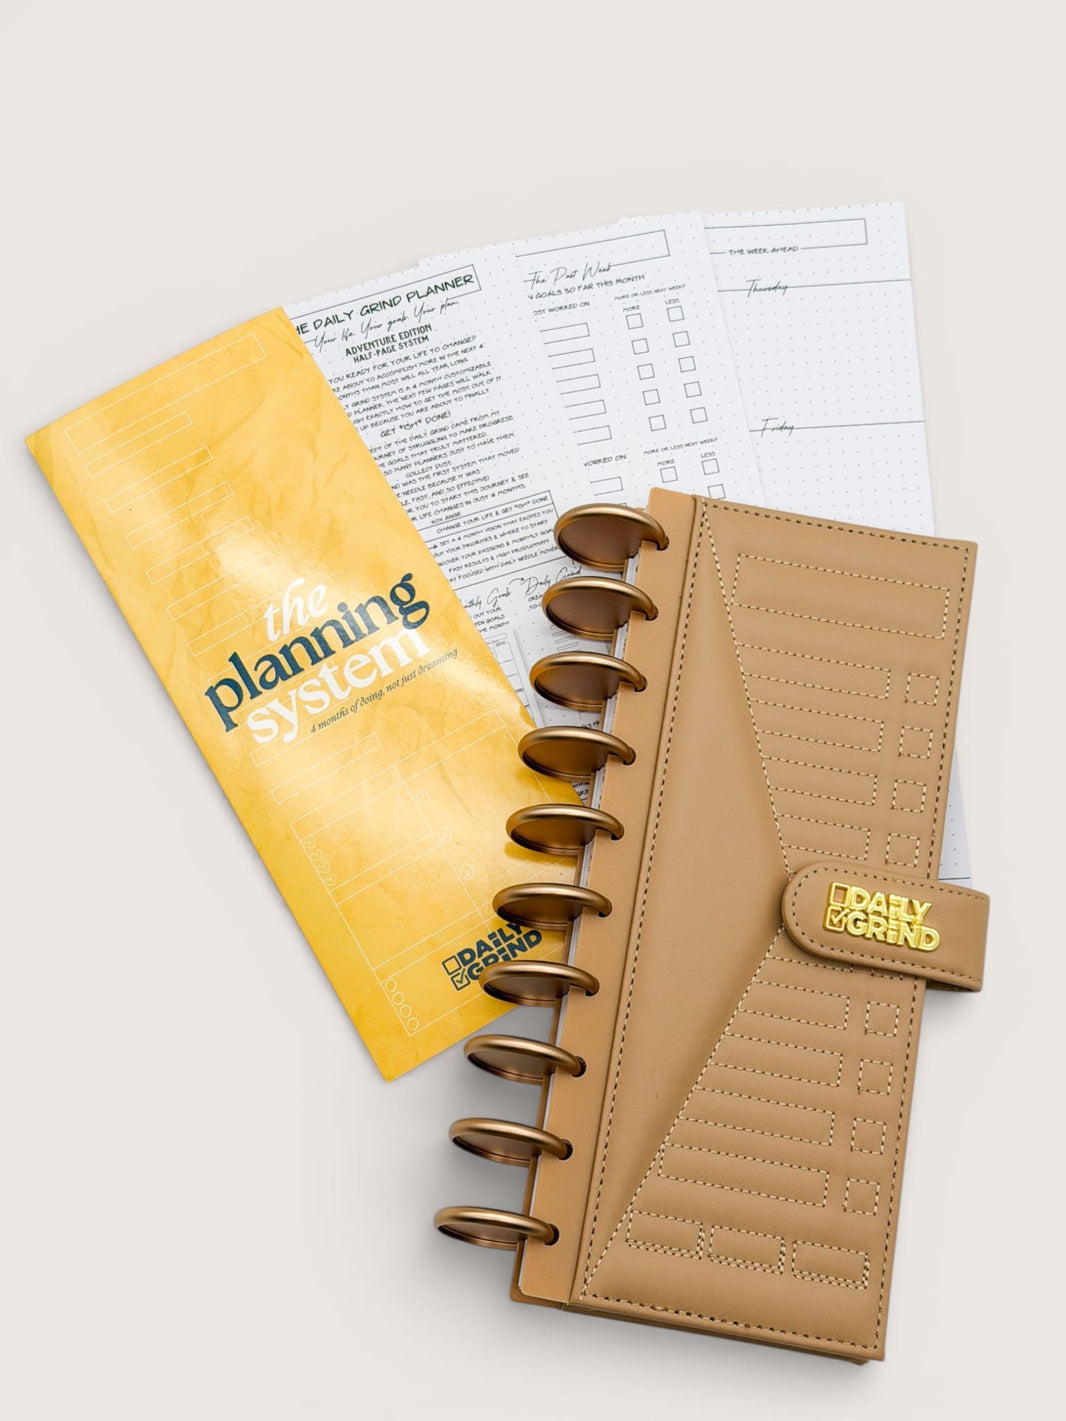
💡 Pro Tip: Start with your base like our Daily Grind Discbound Planner System Insert, it gives you structure for goal setting, daily, weekly, and monthly planning, and reflection, while leaving room for you to add anything extra you need.
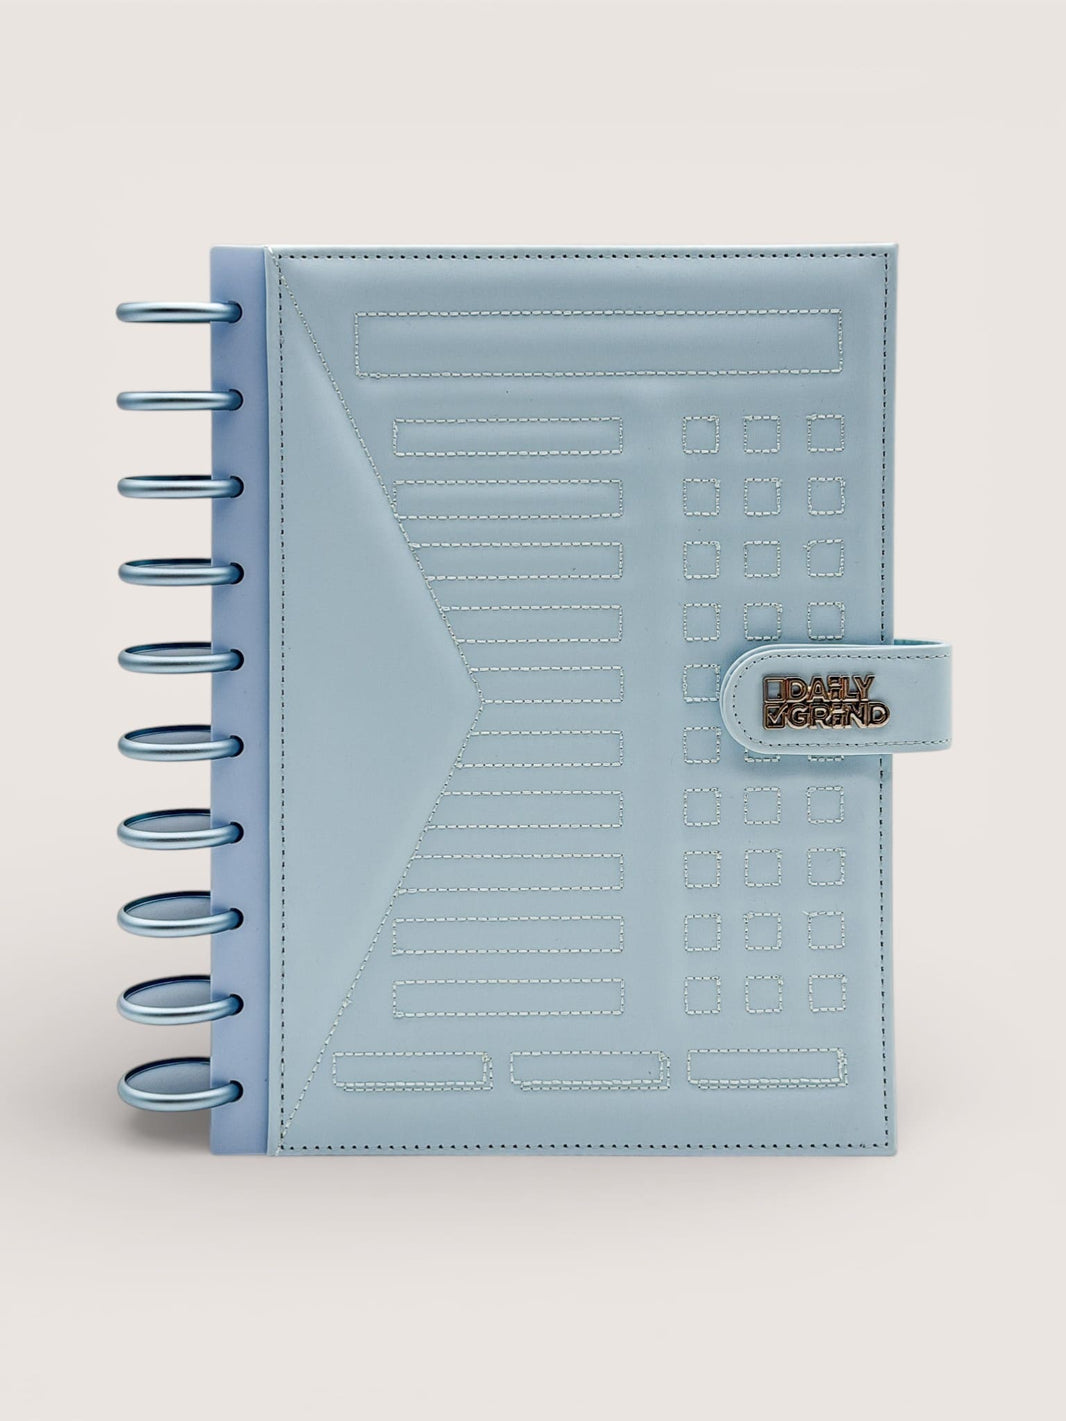
2. Choose a Cover That Inspires You
Your cover sets the tone for your entire planner., Iit’s the first thing you see every day when you sit down to plan, dream, or get your life together.
We design our covers with that in mind. From timeless neutrals to bold, seasonal designs, there’s something for every vibe and personality.
Ask yourself:
👉 “How do I want my planner to make me feel?”
-
Focused & Minimal: Try a sleek, neutral Luxe cover.
-
Seasonal & Cozy: Go for something from one of our Seasonal Collections.
-
Bright & Playful: Choose something colorful and energizing to boost your mood.
💡 Pro Tip: Change out your planner cover each season! It’s the easiest way to keep your setup feeling fresh and inspiring all year long… and YOU that much more likely to stay consistent using your planner.
👉 Shop our Planner Covers here
3. Build Your Layout: Inserts That Fit Your Lifestyle
This is where the real magic happens. Planner Inserts are what transform your planner into a productivity powerhouse.
Here’s how to choose the right ones for your goals and lifestyle:
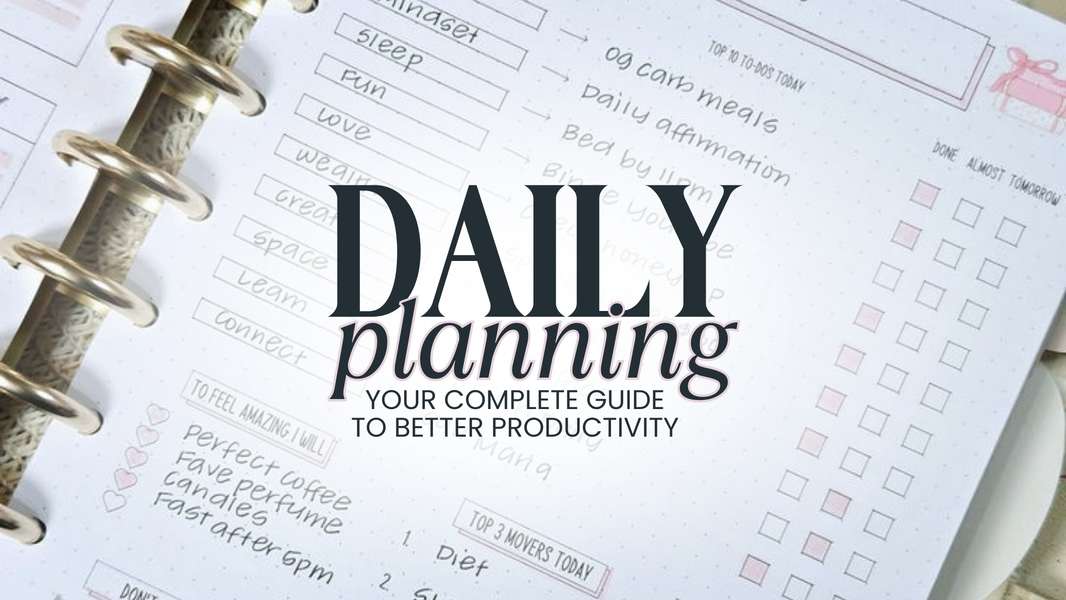
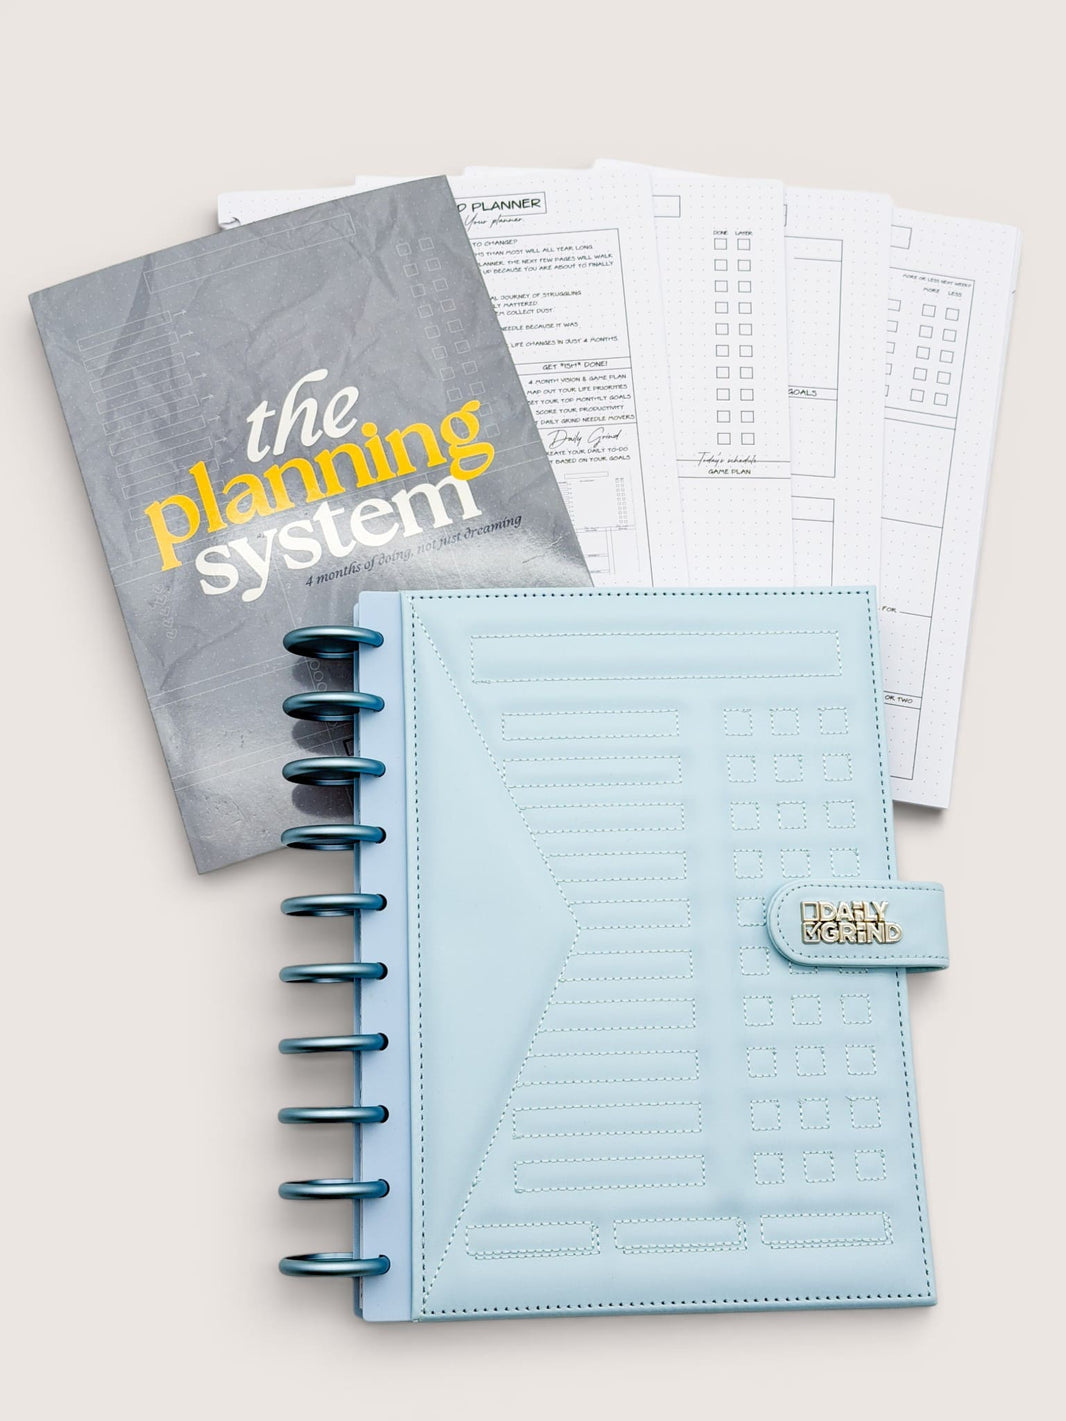
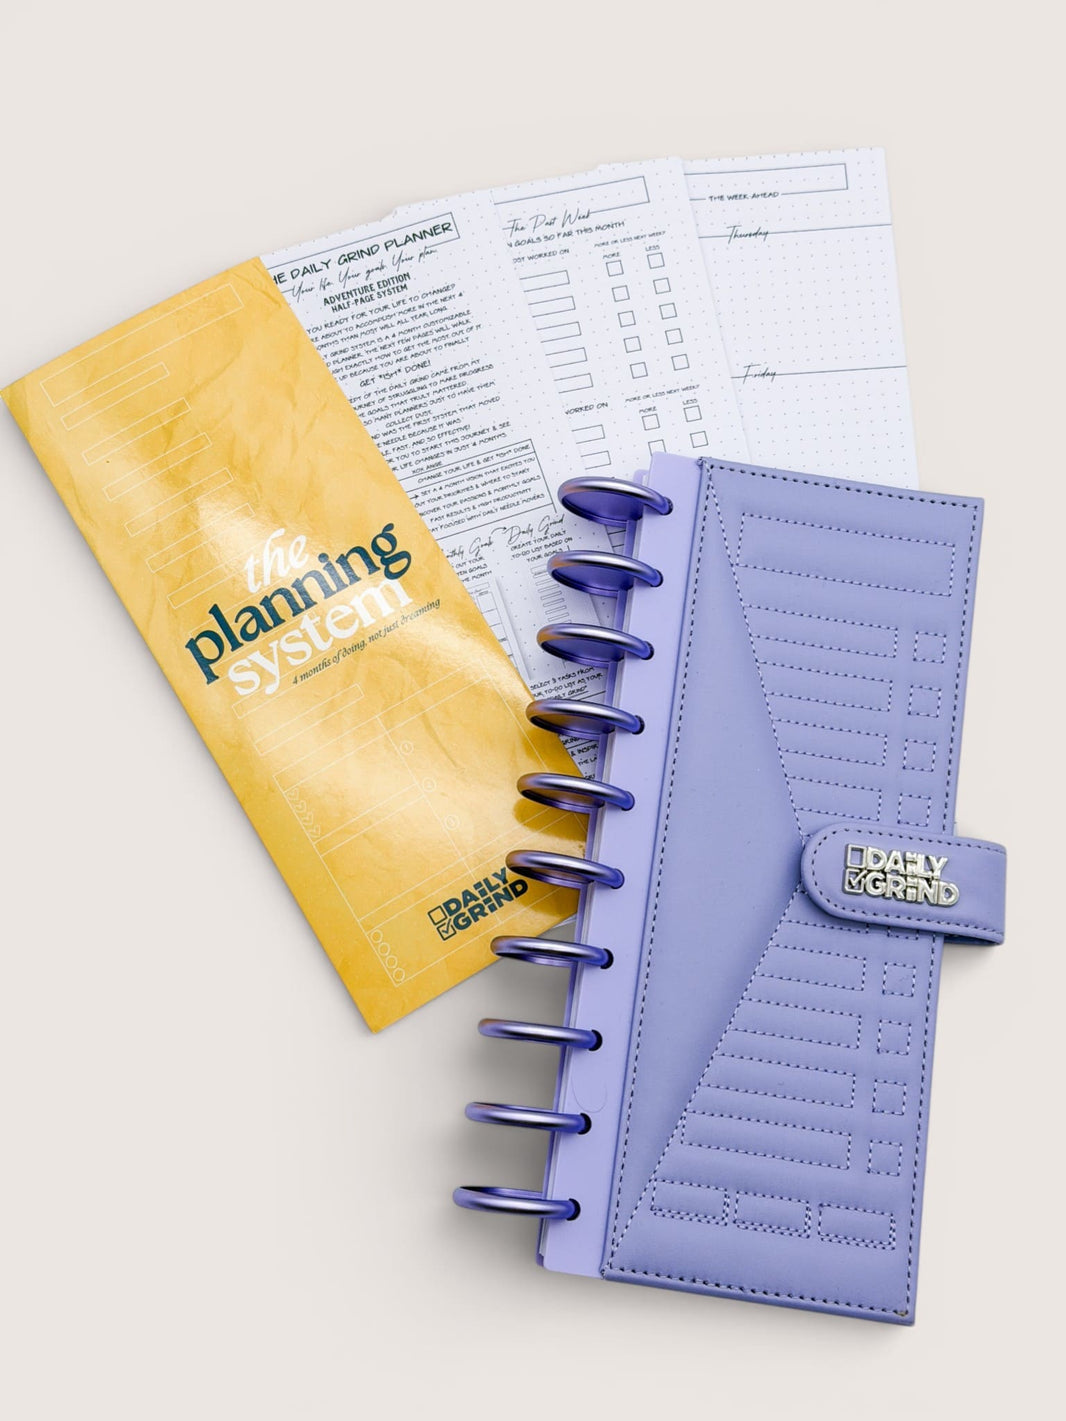
🗓 Planning System Insert (Your Core Layout)
This is your foundation… an undated, 4-month daily planner layout with goal-setting, daily, weekly, and monthly planning pages, as well as reflection pages to help you track your progress. It’s built around The Daily Grind method:
-
Set 10 monthly goals
-
Assign 1 small daily task per goal
-
Choose your “Daily Grind” - your top 3 priorities for the day
If you’re looking for a structure that helps you stay focused and consistent, start here.
👉 Shop the 4-Month Planning System Insert here
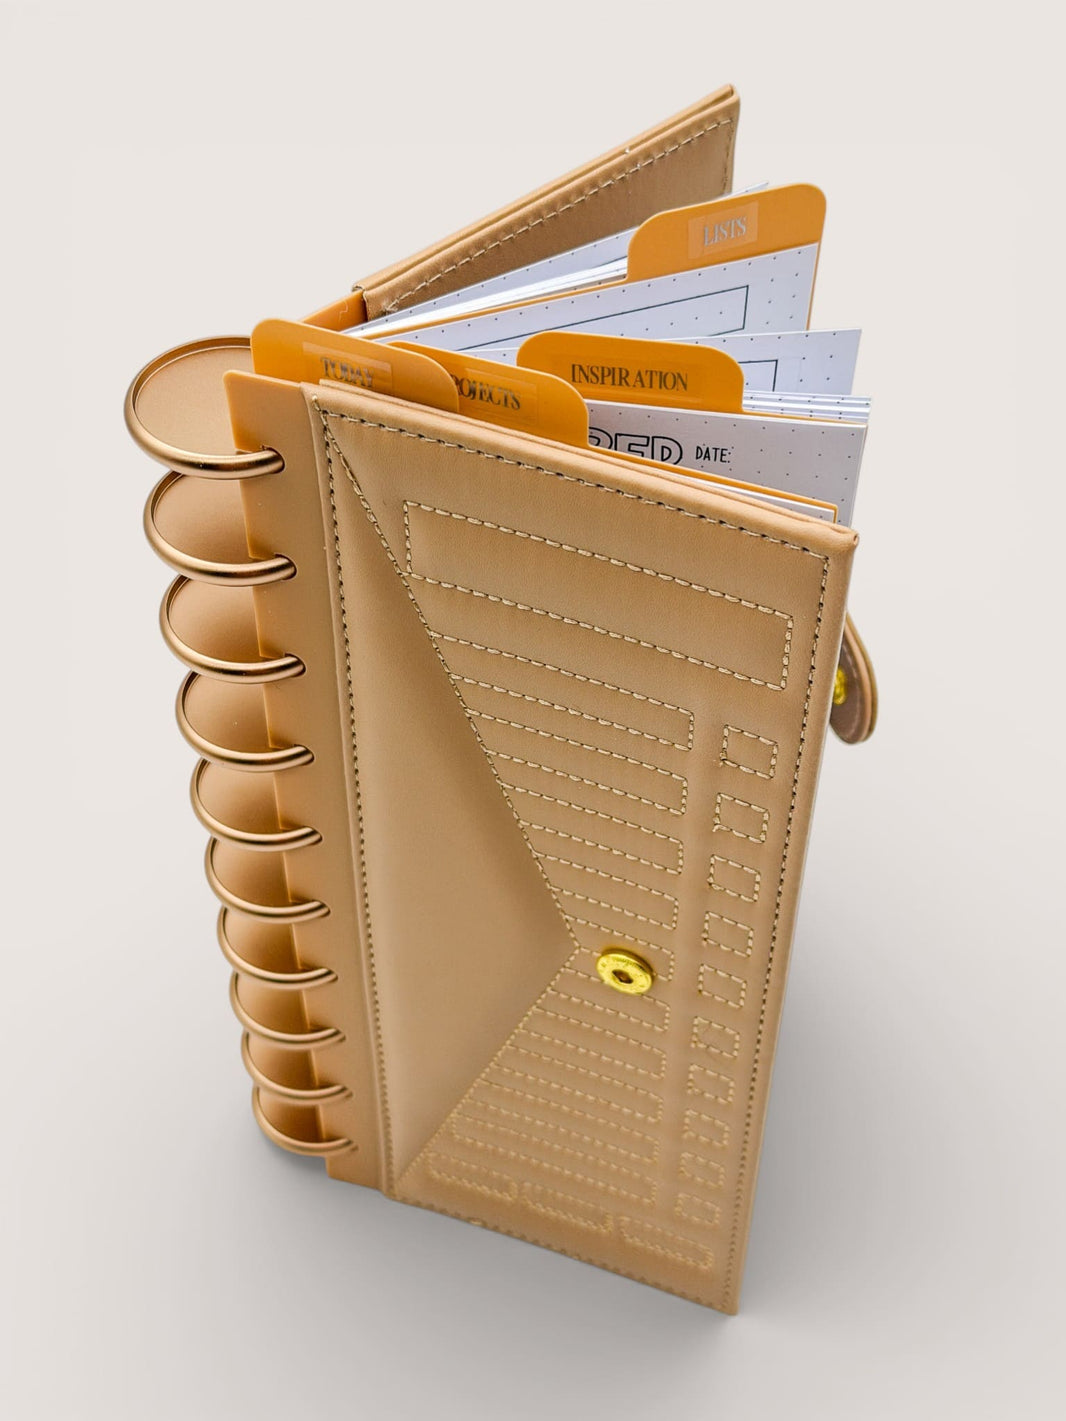
🧠 Specialty Inserts for Every Part of Life
Once you’ve got your base insert, you can expand your system with additional inserts to fit your needs. Think of these as “modules” you can pop in and out as your life changes.
A few favorites to mix and match:
-
Challenge Inserts: Perfect way to start something new while keeping it fun.
-
Budget Tracking Insert: Keep your money goals organized and on track.
-
Habit Tracking Insert: Great for building routines and consistency.
-
Seasonal Inserts: For themed pages, reflection prompts, and seasonal goal-setting (like our Winter WishesLittle Fall Escape Insert).
-
Blank Inserts: Perfect for notes, ideas, and anything in between. Choose from blank dot grid, graph, and lined paper whenever you need extra space.From blank dot grid, graph and lined paper inserts, these give you extra space for whenever you need it.
💡 Pro Tip: You don’t have to fill your planner all at once! Start with what you’ll actually use, then add pages as your routine evolves.
4. Add Tabs, Dividers & Organization Tools
Now that you’ve got your inserts, let’s keep them organized. Tab Dividers are your new best friend here… they help you section off different areas of your life.
Try organizing your planner into sections like:
-
✨ Goals
-
📅 Daily Planning
-
🧾 Finances
-
💪 Habit Tracking
-
💭 Reflection
-
💡Notes
Our Tab Dividers are a steady favorite… sturdy, beautiful, and designed to coordinate with both our full-sized and travel-sized planner covers.
5. Accessorize Like a Pro (Because Details Matter)
Here’s where you can really make your planner yours. Accessories don’t just make it pretty, they make it more functional, too.
A few essentials to get you started:
-
Washi Tape: Perfect for borders or adding a touch of seasonal charm.
-
Sticker Books: Use icons, motivational quotes, or functional boxes to decorate and organize your pages.
-
Pens & Writing Tools: Grab your essentials for writing and color-coding your goals
And yes… every season we release new themed accessories to help your planner match your current mood and aesthetic.
👉 Explore Planner Accessories here
6. Keep It Seasonal & Inspiring
Your planner should grow and evolve with you… or even with the seasons.
Each new season is an opportunity to reset your goals, update your inserts, and refresh your planner’s look. A cozy fall cover, a holiday-themed washi roll, or a new goal-tracking insert can make planning feel new and exciting again.
The best part of the discbound system is that you don’t have to start over… you can just swap pages and covers as you go. It’s planning made simple and satisfying.
8. To Help You Get Started
If you’re ready to create your dream planner setup, here’s what we recommend:
-
Start with the Foundation:
👉 Daily Grind Discbound Planner Insert - your 4-month, undated core system. -
Add a Cover You Love:
👉 Shop Planner Covers - choose one that inspires you. -
Add any Additional Planner Inserts:
👉 Shop Planner Inserts - choose the ones that speak to you and will help you achieve your goals. -
Organize Your Sections:
👉 Add Tab Dividers to separate your goals, planning, and extra pages. -
Layer in Accessories:
👉 Explore Stickers, Washi, and Writing Tools for an extra personalized touch. -
Stay Inspired:
Refresh your setup each season… your planner should evolve as your life does.

Final Thoughts: Your Planner, Your Story
A planner isn’t just paper and discs… it’s your story, unfolding one page at a time. It’s the space where your ideas take shape, your goals become plans, and your everyday routines become the building blocks of your dream life.
When you build your planner intentionally, with the covers, inserts, and accessories that inspire you, you’re not just staying organized… you’re creating a tool that supports your growth.
So go ahead, make it yours. Experiment, rearrange, decorate, dream. Because when your planner feels personal, you’ll actually want to use it every single day.
✨ Ready to start building your perfect planner setup?
👉 Build Yours Now!
Tags:
Previous
The Daily Grind Holiday Gift Guides Are Here - Your Stress-Free Shortcut to Thoughtful Gifting
Next
Daily Planner Guide: Transform Your 2026 Productivity